4 Steps Involved In Installing a Vapor Barrier in Your Crawl Space
A vapor barrier in your crawl space is as crucial as your home insulation. It provides moisture protection, improving comfort and lowering your home bills. Installing it would be a huge benefit and also an investment.
But how do you install a vapor barrier in your crawl space? Here are the 4 steps you need to follow when installing a vapor barrier in your crawl space:
- Choose the Right Vapor Barrier
- Prepare the Crawl Space Floor
- Seal the Vapor Barrier for a Tight Seal
- Anchor and Securing the Barrier
Are you planning to DIY install a vapor barrier in your crawl space? If you’re, this guide will take you through the entire process and provide you with additional information. Read on!
How to Install a Vapor Barrier in Your Crawl Space
Installing an effective vapor barrier in your crawl space is one of the most important steps to improve comfort, reduce energy costs, and protect the structural integrity of your home.
A vapor barrier creates an airtight seal that blocks moisture, humidity, and pollutants movement through the crawl space floor and foundation walls. When installed properly using high-quality materials and good technique, a vapor barrier can;
- help keep your crawl space dry
- improve indoor air quality
- prevent damage to insulation and wood components, and
- prolong the lifespan of your home
What Tools Do You Need?
- Caulk gun
- Utility knife
- Hammer
- Tape measure
- Straightedge
- Trash Bag
- The Vapor Barrier
Choose the Right Vapor Barrier
Polyethylene sheets offer the highest performance but can be difficult to install. Reinforced polyethylene mesh (poly-mesh) and spray-on vapor barriers are often easier to apply, though they may not provide quite as comprehensive coverage. For the most effective protection, look for a vapor barrier with a permeance rating of 0.5 perms or less. Membranes of at least 6-8 mils thick polyethylene plastic will typically meet this rating and last the longest. Spray foams are a good option to seal gaps around pipes, wires, and joints.
Prepare the Crawl Space Floor
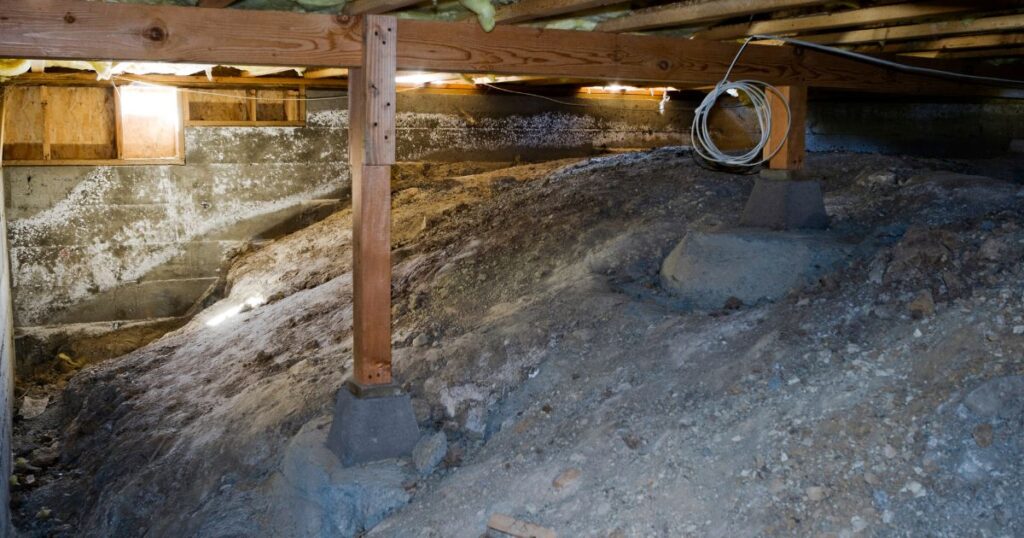
Before installing the vapor barrier, thoroughly clean the crawl space floor to remove dirt, debris, protrusions, and any signs of existing moisture damage. Repair any cracks, or holes in the foundation walls and patch or seal larger damaged areas of the floor. In damp or continually wet crawl spaces, apply a concrete moisture barrier primer to help seal pores in the concrete before laying down the vapor barrier membrane. This will improve the barrier’s adhesion and ability to block vapor.
Seal the Vapor Barrier for a Tight Seal
Use waterproof construction tape, sealants, or heat welding to seal all seams, edges, joints, cuts, and punctures in the vapor barrier. Lapped seams should overlap by at least 12 inches when using polyethylene sheeting. Even small gaps can allow vapor to pass through, so take time to seal the barrier for maximum protection.
Apply sealant or tape generously at utility penetrations, then use a heat gun to melt sealant into the barrier for a strong, airtight seal. Test the seal by turning on exhaust fans to check for any smoke escaping along edges or seams before backfilling the crawl space.
Anchor and Secure the Vapor Barrier
Properly securing the vapor barrier is critical to prevent shifting, tearing, or exposing unprotected floor areas. Use construction staples, studded roofing nails, or double-sided tape to fasten the barrier to the foundation walls, joists, posts, and band joists around the edges and seams of the space.
Place staples/nails 3 to 6 inches apart around edges and seams and 12 inches apart over the remainder of the barrier. Secure penetrations using sealant and straps made of barrier material. A vapor barrier will not provide effective protection from moisture and pollutants without proper anchoring.
When is The Best Time to Install a Crawl Space Vapor Barrier?
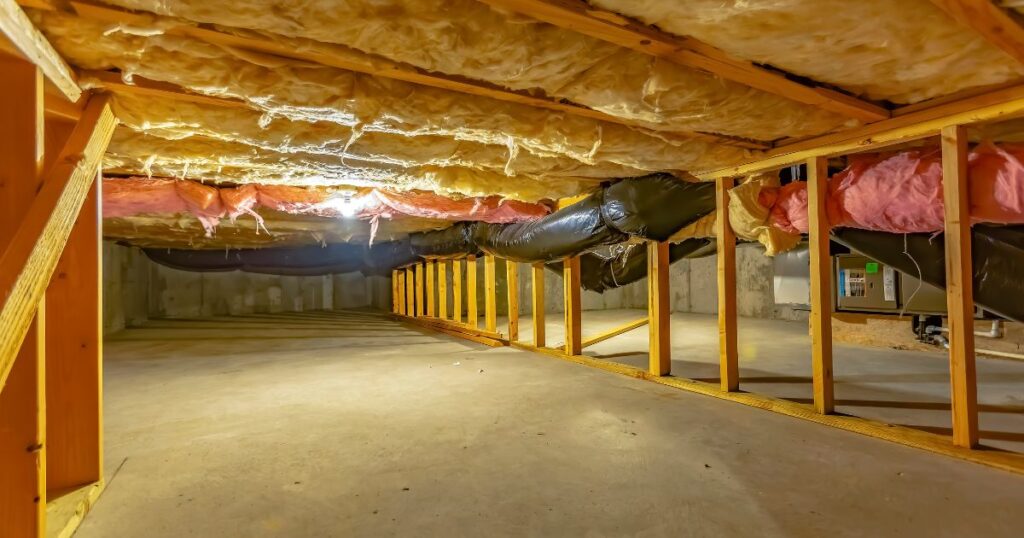
There are a few key times when installing a vapor barrier in a crawl space is ideal:
1. When the crawl space is initially constructed
Installing a vapor barrier as the crawl space walls and floor are formed provides the most comprehensive protection. The barrier can be adhered directly to poured concrete walls and floors for maximum adhesion and effectiveness. Any damage to the barrier during construction can also be easily patched.
2. Before insulation is installed
Applying insulation over an existing vapor barrier also helps protect it from potential damage during installation. The insulation is an additional layer shielding the barrier from punctures, tears, or other compromise. Insulation alone does not prevent water vapor transmission, so a vapor barrier is still critical.
3. In the spring, before high-humidity summer weather
Replacing or installing a vapor barrier in the spring allows it to be fully adhered to and sealed before the summer rainy season and high humidity arrive. Any new barrier will be ready to perform at its highest ability through the season when moisture control is most important.
4. After water damage or flooding events
Water collecting or leaking in the crawl space can compromise an existing vapor barrier, causing it to become damaged or detached from the surfaces below. Replacing the barrier after a water event helps ensure maximum protection to prevent further damage. Even if the water source is remedied, some barrier compromise may remain where new barrier seams and joins can potentially leak.
5. When temperature variations increase
Larger swings in temperature, especially in fall, can put more stress on a vapor barrier and hasten its deterioration or compromise. Installing a new barrier in late summer or fall helps provide peak protection in winter when the temperature differences become more extreme.
What common mistakes to avoid when installing a crawl space vapor barrier?
1. Not Sealing All Edges and Seams
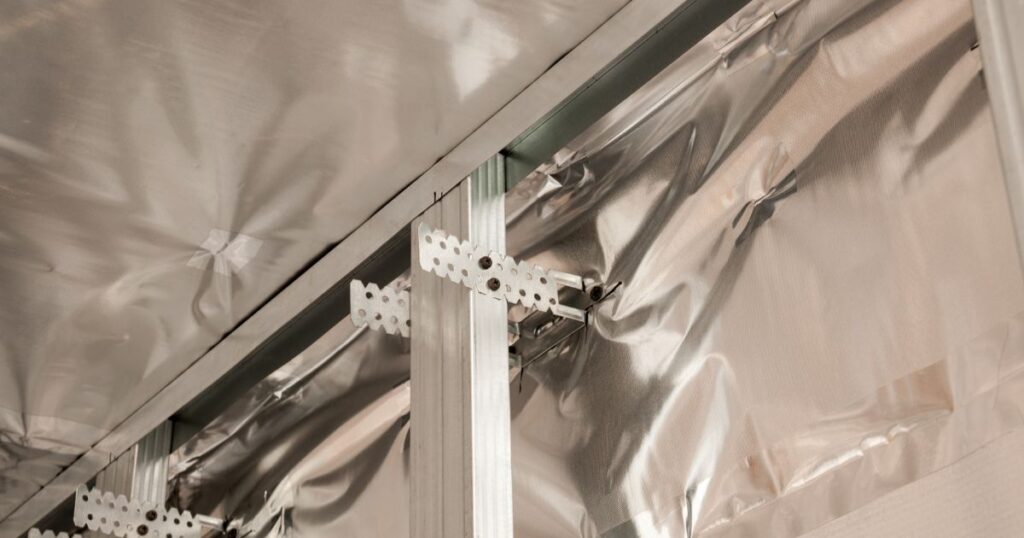
Any flaws left unsealed in the vapor barrier membrane allow moisture penetration. Carefully sealing each seam, edge, and hole in the barrier with waterproof construction adhesive or tape ensures maximum effectiveness in preventing water vapor transfer. Failure to fully seal the barrier compromises its ability to control excess humidity and dry your crawl space.
2. Not Adhering the Barrier to Walls and Floors
The vapor barrier is securely fastened directly to the concrete crawl space walls and floor using adhesive or double-sided tape. An unadhered barrier will not properly seal and prevent moisture inflow at crucial joints and elevated contact points between the barrier and the surface below. Not adhering to the entire barrier prevents comprehensive coverage and moisture control.
3. Covering an Inadequate Surface Area
Leaving any part of the crawl space walls or floor unprotected by the vapor barrier means moisture has the opportunity to enter at those points. For maximum effectiveness, the barrier requires full enclosure of the space to fully seal it against water vapor transmission into the crawl space. Gaps or openings destroy the barrier’s ability to control humidity and keep the space dry.
4. Not Sealing Around Protrusions
Pipes, wires, cables, and other protrusions that pass through the crawl space enclosure require sealing where the barrier meets them. Not sealing these joints allows moisture to flow around the protrusion, compromising the barrier. Extend the barrier over and securely seal around each protrusion entering the crawl space for complete coverage and an airtight seal against water vapor.
5. Inappropriate Barrier Material
Plastic sheeting designed as a vapor barrier and for use in humid environments provides the best protection for a crawl space. House wrap or roof underlayment does not prevent moisture transfer strongly enough for this application. Condensation can collect on surfaces below the wrong barrier material, causing compromise from excess exposure to moisture.
6. Insufficient Adhesive for Full Coverage
Construction adhesive or double-sided tape applied to the barrier but in inadequate amounts does not properly adhere edges and seams to prevent moisture inflow. For maximum effectiveness, the adhesive should cover 100% of joints, edges, and areas where the barrier may lift or peel away from surfaces below. Less than full coverage results in points where moisture can penetrate the crawl space.
7. Not Extending Up Foundations Walls
Moisture can flow between the barrier and foundation walls even when the base of the walls is covered. For maximum effectiveness, the vapor barrier should extend the foundation walls as high as possible to eliminate any air gaps where water vapor can enter. Not extending the barrier up walls means moisture can penetrate the joint, compromising the barrier.
8. Shim Spacing Allows Air Pockets
Placing wood shims between wood structures like joists and the concrete crawl space floor at wider spacing than needed allows air pockets to form at the joints. These air pockets create gaps in coverage where moisture can flow freely in. Shims should be spaced close enough to prevent air pockets from forming under the barrier for complete coverage and an airtight seal. Air pockets undermine the barrier’s ability to control excess moisture.
9. Lack of Inspection and Maintenance
Occasionally inspecting the vapor barrier and re-sealing or repairing any damage found helps ensure its continued ability to prevent moisture penetration into the crawl space. Without routine inspection and maintenance, small issues that develop over time are overlooked until the barrier leaks effectively. Periodic adjustment of insulation grade panels may also provide a chance to check barrier conditions. Missing these opportunities compromises the barrier’s protection.
10. Raising and re-sealing insulation
Any time insulation covering the vapor barrier is raised, accessed, or adjusted also provides an opportunity to check for and re-seal or repair any damage found in the barrier membrane. Damage left unrepaired allows it to worsen and results in moisture transfer into the crawl space over time. Ensuring all damage, holes, tears, or loose edges are re-taped or re-glued before lowering the insulation helps keep the barrier fully effective in controlling excess humidity and preventing costly issues.
Also Read: How Much Does It Cost to Install a Vapor Barrier in the Crawl Space?
VIDEO: How To Install Crawl Space Vapor Barrier
Conclusion
Installing a vapor barrier in your crawl space is a great way to protect your home, improve comfort, and reduce energy costs.
The best time to install a vapor barrier is when the crawl space is initially constructed, before insulation is installed, in springtime, and after water damage or flooding.
You need to choose the right vapor barrier and take the time to seal all edges, adhere the barrier to the walls and floors, cover an adequate surface area, seal around protrusions, and inspect and maintain it frequently.
You have to consider moisture/humidity levels, environmental conditions, structural damage, usage needs, cost, and flexibility needs when deciding between a vapor barrier and a crawl space encapsulation.
Follow this guide to ensure you have the best protection for your crawl space.




![How Much Does Crawl Space Vapor Barrier Cost? [Answered]](https://www.homeimprovementdock.com/wp-content/uploads/2023/08/How-Much-Does-It-Cost-To-Install-Vapor-Barrier-In-Crawl-Space-Answered-2-768x403.jpg)
