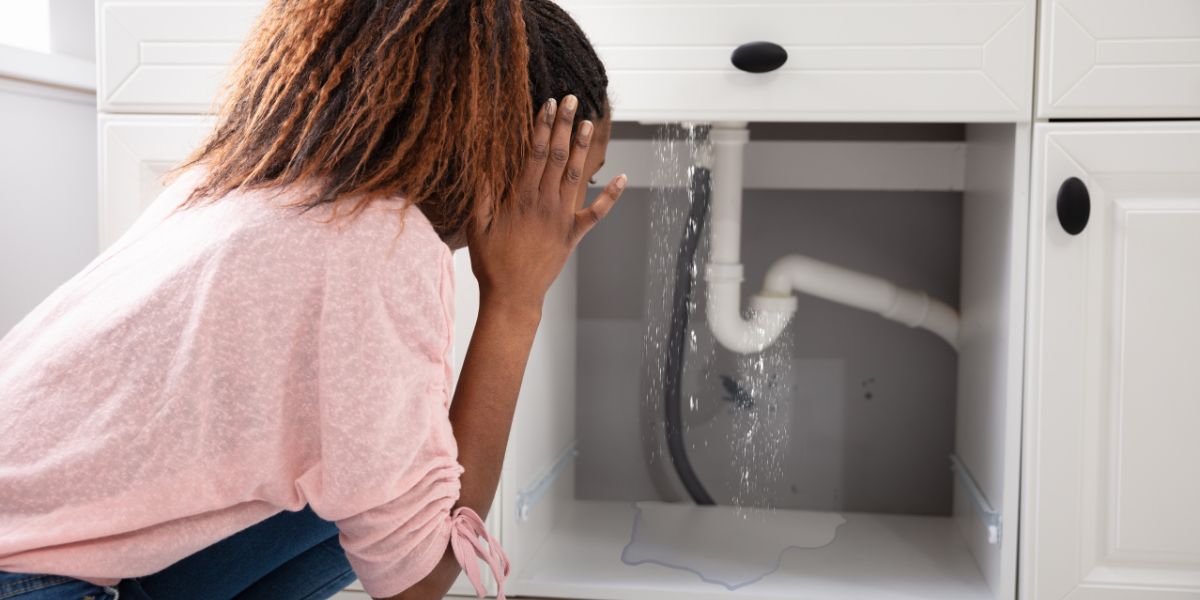
Why Is My Sink Leaking Underneath? Here Are 9 Reasons Why!
Water damage is a serious issue that can be caused by a few drop leaks. So, it’s understandable if the sink leaking underneath worries you to the bone.
So, why is my sink leaking underneath? Your sink is leaking underneath because of any of the following reasons:
- Worn Gaskets or Washers
- Worn-Out Seals
- Loose Connections
- Shifting Plumbing Lines
- Damaged O-rings
- Damaged Pipes
- Backed-Up P-Trap
- Ages Drain Putty
- Corroded Valves
You need to identify the cause of the leak and fix it promptly to prevent further damage to your plumbing and potential water damage to your home. Below is a rundown of these common causes and how to find and repair them.
Why is My Sink Leaking Underneath?
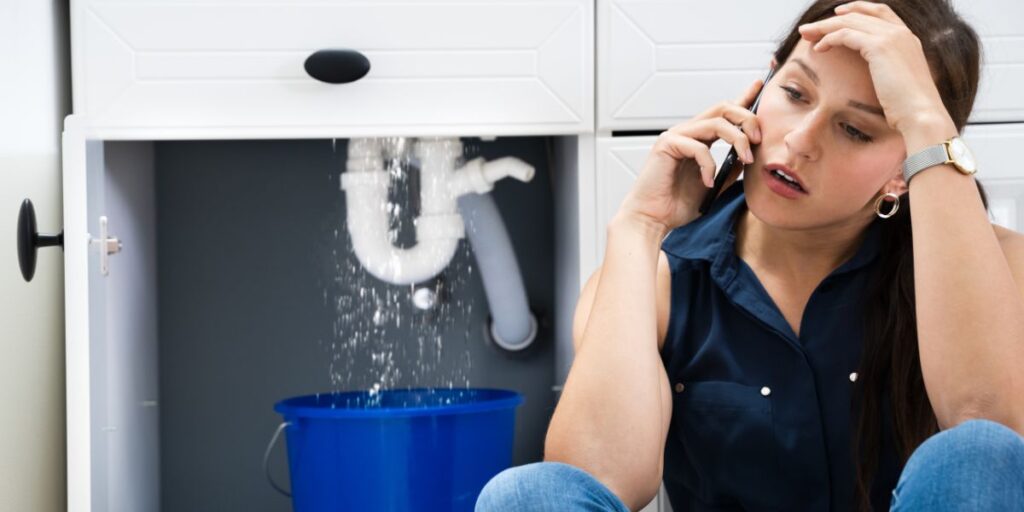
Why is my bathroom sink leaking underneath? Why is my kitchen sink leaking underneath? Have you noticed wetness or drips under your kitchen or bathroom sink? If you have, understanding what is causing and fixing it promptly will help prevent issues like water damage and mold growth. If you notice water leaking under your kitchen or bathroom sink, here are the 9 common causes:
Worn Gaskets or Washers
The gaskets or washers underneath your sink are designed to create a tight seal and prevent leaks. Over time, though, they can wear down from continuous use and exposure to water. As they get thinner, they are less able to form a proper seal. Even the smallest imperfections in the sealing surface can allow water to seep through.
Worn-Out Seals
Seals are employed in various areas underneath the sink to block water from escaping. Prolonged exposure causes seals to break down and become brittle. They crack more easily and no longer maintain a closed barrier against water pressure. Seals situated near moving parts like faucet stems face extra wear. Regular vibration and shifting break down the sealing material faster.
Loose Connections
Connections between pipes and fittings need to be securely tightened to function properly. Vibrations from daily use can cause previously tightened fasteners to loosen over time. With connections becoming loose, water can enter through small gaps rather than remaining fully contained inside pipes. It’s important to check frequently for loosened nuts and retighten as needed.
Shifting Plumbing Lines
Improperly installed or unsupported pipes may shift position due to water pressure fluctuations. This movement at connections can widen gaps, compromising the integrity of previously water-tight seals. Settlement of building foundations over the years may also result in plumbing stacks dropping or changing angle gradually.
Damaged O-rings
Rubber o-rings are a critical component embedded in many fixtures and shut-off valves underneath sinks. They can become nicked, cracked, or split from repeated use. Compromised o-rings fail to create an effective seal and allow leakage to pass. Regular inspection is needed to detect and replace broken or damaged o-rings before leaks develop.
Damaged Pipes
Copper, galvanized, or plastic pipes carrying water can develop fractures or holes from age, freezing conditions, chemicals, or other corrosives over time. These breaches in pipe integrity allow water to escape at the damage point, potentially underneath sinks and cabinets. Regular visual inspections are important to identify problem areas before major leaks emerge.
Backed-Up P-Trap
The P-trap is the familiar U-shaped section of drain pipe under sinks that holds water, preventing sewer gases from entering the home. If debris or waste builds up inside it, water can no longer drain properly and may back up, overflowing from weep holes or joints and dripping below. Regular cleaning helps prevent blockages.
Ages Drain Putty
Plumbers’ putty forms a critical seal around drain assemblies. As it weathers from years of exposure, putty drying, and cracking loses elasticity. It no longer compresses well against surfaces to block water penetration. Removal and replacement of old, failing putty can stop hidden leak points.
Corroded Valves
Shut-off valves made of cheaper metals like brass may corrode internally where water passageways exist. Corrosion creates imperfections that compromise valve integrity as a water barrier over time if not addressed. Leakage can develop downstream at connections or from the valve body itself underneath sinks. Periodic replacement is sometimes needed.
Poor Installation
Finally, poor installation is another possible reason for a leaking sink. If your sink was not installed correctly initially, it may not be level or secure enough to prevent leaks over time. Additionally, if any parts were installed incorrectly or with improper materials, this could lead to leaks under your sink. The good news is a better or sink upgrade can help avoid leaks in the future.
How to Find Leak under Kitchen Sink or Bathroom Sink
Finding the source of the leak can be a difficult and time-consuming process but very important. Below are some tips to help you locate the source of the leak:
Check for Visible Signs of Water Damage
The first step in finding a sink leak is to check for any visible signs of water damage. This may include wet spots on the cabinet floor or walls, mold growth, or dampness around the pipes. If you notice any of these signs, there is likely a leak somewhere in your plumbing system.
Look for Leaks in the Drain Line
Find clogged or damaged drain lines. Fill the sink with water and let it drain while observing the pipes underneath. If you notice any water dripping from the pipes, this may indicate a problem with the drain line.
Inspect the Water Supply Lines
To check for leaks in these lines, turn off all faucets and appliances that use water and observe the pipes underneath your sink. If you notice any drips or puddles forming around these pipes, there may be a problem with your water supply lines.
Test Your P-Trap
The P-trap is a curved pipe underneath your sink that traps debris and prevents sewer gases from entering your home. Over time, this pipe can become clogged with debris or develop cracks that allow water to escape. To test your P-trap for leaks, fill your sink with water and let it drain while observing the pipe underneath. If you notice any drips or puddles forming around this pipe, there may be an issue with your P-trap.
Use Dye Testing
If you need help finding the source of your sink leak, you can try using dye testing. This involves adding food coloring or dye to your sink’s drain and observing where it goes. If you notice colored water leaking from any part of your plumbing system other than the drain line, this may indicate a leak.
How Do You Fix Sink Leaking Underneath?
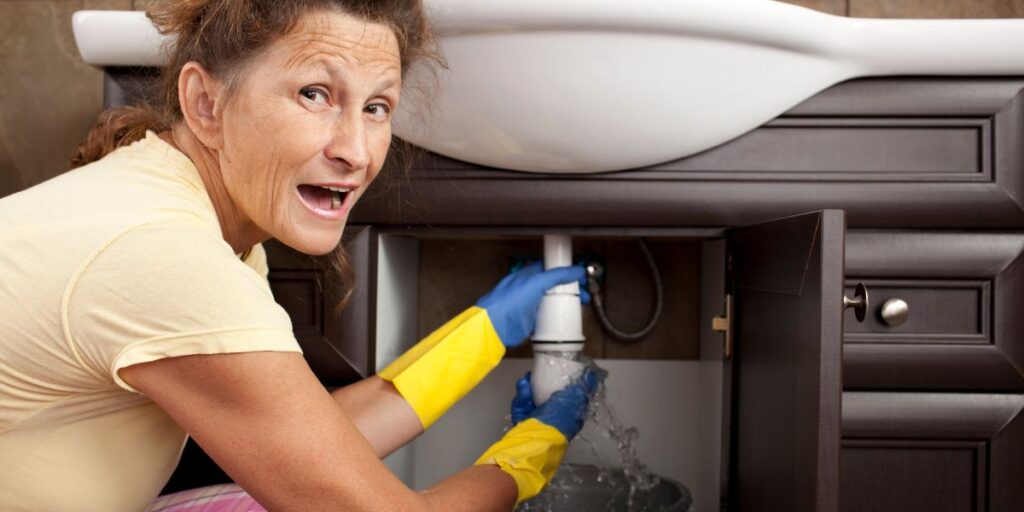
If you’ve identified a leak under your sink, fixing it immediately is essential to prevent further damage. Here are the steps to fix a leak under the sink:
Turn Off The Water Supply
Shutting off the water source is the first step before doing any repairs. Locate the main shut-off valves under the sink and turn them clockwise to the off position. This prevents potential flooding while working and allows you to inspect for leaks in a dry environment.
Inspect and Identify the Problem Area
Use a mirror to inspect all connections, joints, and pipes underneath. Look for worn parts, loose fittings, cracks, or other abnormalities. Determine if the issue is with connections, valves, drains, or something else. Proper diagnosis helps fix the root cause.
Tighten Connections
Loose nuts or junctions allowing seepage can often be remedied by tightening alone. Use adjustable pliers or wrenches, ensuring fittings are firmly hand-tightened, then an additional quarter turn. Avoid over-tightening plastic or rubber components.
Replace Defective Components
Worn washers, damaged o-rings, or degraded materials like old putty need replacing. Take the defective piece to the hardware store for an exact replacement. Carefully fit the new part in following manufacturers’ instructions.
Apply Thread Sealant
Apply the plumber’s tape to all threaded water line joints before securing them. The tape acts as a temporary gasket, helping create a lasting leak-proof seal.
Test Before Use
With repairs complete, turn the water supply back on slowly. Inspect all work areas closely for any dampness or new drips. Fix any leaks found before using the sink normally.
When to Call a Professional
While minor leaks underneath the sink can often be handled through basic DIY repairs, there are some situations where it’s best to consult a plumber:
- If you cannot locate the source of a leak: Professional tools like cameras may be needed to inspect lines and pinpoint the problem area.
- For major water damage: Extensive flooding indicates a larger issue beyond a simple washer replacement. Leave repairs to an insured pro.
- When dealing with rust, corrosion, or older galvanized pipes: Deteriorated pipes are dangerous and require an experienced hand to replace safely.
- When a repair involves soldering or brazing pipes: Heat work requires expertise to avoid fire hazards or introducing toxic fumes into the home.
- For persistent leaks after several attempts: Recurring leaks may stem from a complex problem better solved by a plumber’s skilled diagnosis.
- No accessible shut-off valves: Without a water cut-off, working on wet plumbing becomes risky. Call a plumber equipped to solve the issue.
- Questionable drainage issues: A plumbing contractor best assesses drain repairs involving trap weirs or vent lines.
If any of these red flags apply, avoid potential hazards or additional damage by contacting a plumber for a full inspection and repair quote. Their training makes them best equipped for complicated jobs.
Here is a video showing various ways to fix a sink leaking underneath.
Frequently Asked Questions (FAQs)
How much does it cost to fix a leaking sink?
The cost of fixing a leaking sink can vary depending on the extent of the damage and the type of sink you have. On average, you can expect to pay anywhere from $75 to $450 for repairs. However, the cost could be higher if the problem is more severe and requires replacement parts or professional assistance.
Can I fix a leaking sink myself?
If you have experience with plumbing repairs and feel confident in your abilities, you may be able to fix a leaking sink yourself. However, if you need clarification on what’s causing the leak or the necessary tools and expertise, it’s best to call a professional plumber.
How long does it take to fix a Sink Leaking Underneath?
The time it takes to fix a leaking sink will depend on the severity of the problem and how quickly you can identify and address it. Simple repairs like tightening loose connections or replacing washers can be done in as little as 30 minutes, while more complex issues may take several hours or even require multiple visits from a plumber.
Conclusion
Finding and fixing a leak under your sink can be stressful, but it doesn’t have to be. With the proper steps and techniques, you can quickly and easily identify the source of the leak and make the necessary repairs. Remember to always turn off the water supply before starting any plumbing repairs, and if you need help, don’t hesitate to contact a professional plumber. Remember these tips; you’ll soon have your sink back to leak-free.
